Celebrate with stitch and collage

In March this year, I ran a workshop at the South East Essex Embroiderers’ Guild called ‘Celebrate with stitch and collage‘.

The idea was to make a greetings card using a mixture of paper and stitch to create a simple vase of flowers.

A mixture of patterned papers and text from old books were used to cut out simple flower and vase shapes. These were then glued to a greetings card and decorated using bold stitches using embroidery thread and embellished with buttons.

Here’s a small selection of the lovely pieces made…

Paper-cut greetings cards

I’ve started to make my own paper-cut greetings cards. I first got the idea from the book House of Cards by Sarah Hamilton which included artist Sarah Morpeth, whose work involves very detailed paper-cuts.

For the cards above, I began by tracing an outline of a design onto the back of a card, using a light box. I then found a pattern that I could use to ‘fill’ the shape, which I also traced onto the card. Using a sharp craft knife I cut out all the intricate pieces, which although it did take time, I found it very relaxing. My only problem was when I realised the tip of my finger had gone numb from several hours of cutting!

Altered book: threads of thought

I ran a workshop at the South East Essex Embroiderers’ Guild called ‘Altered books: threads of thought‘. I love stitching on paper and wanted to share the idea of stitching in an altered book with the embroiderers. Not everyone in the group was comfortable with the idea of tearing pages out of a book – but most were willing to give it a try.

For me, the benefit of using an old book is to give something unloved a new lease of life rather than thinking you are ‘ruining’ it. Also, by using a page that already has content already on it, either images or text, can be a useful prompt and helps to remove the fear of the blank page.

I gave the group a couple of themes to play with: the first was an embroidered colouring book idea and the second was to embroider a spirograph. Each person took the idea and developed it in their own way, using collage, stitch, maps and even mirrors.

Leigh Art Trail 2018

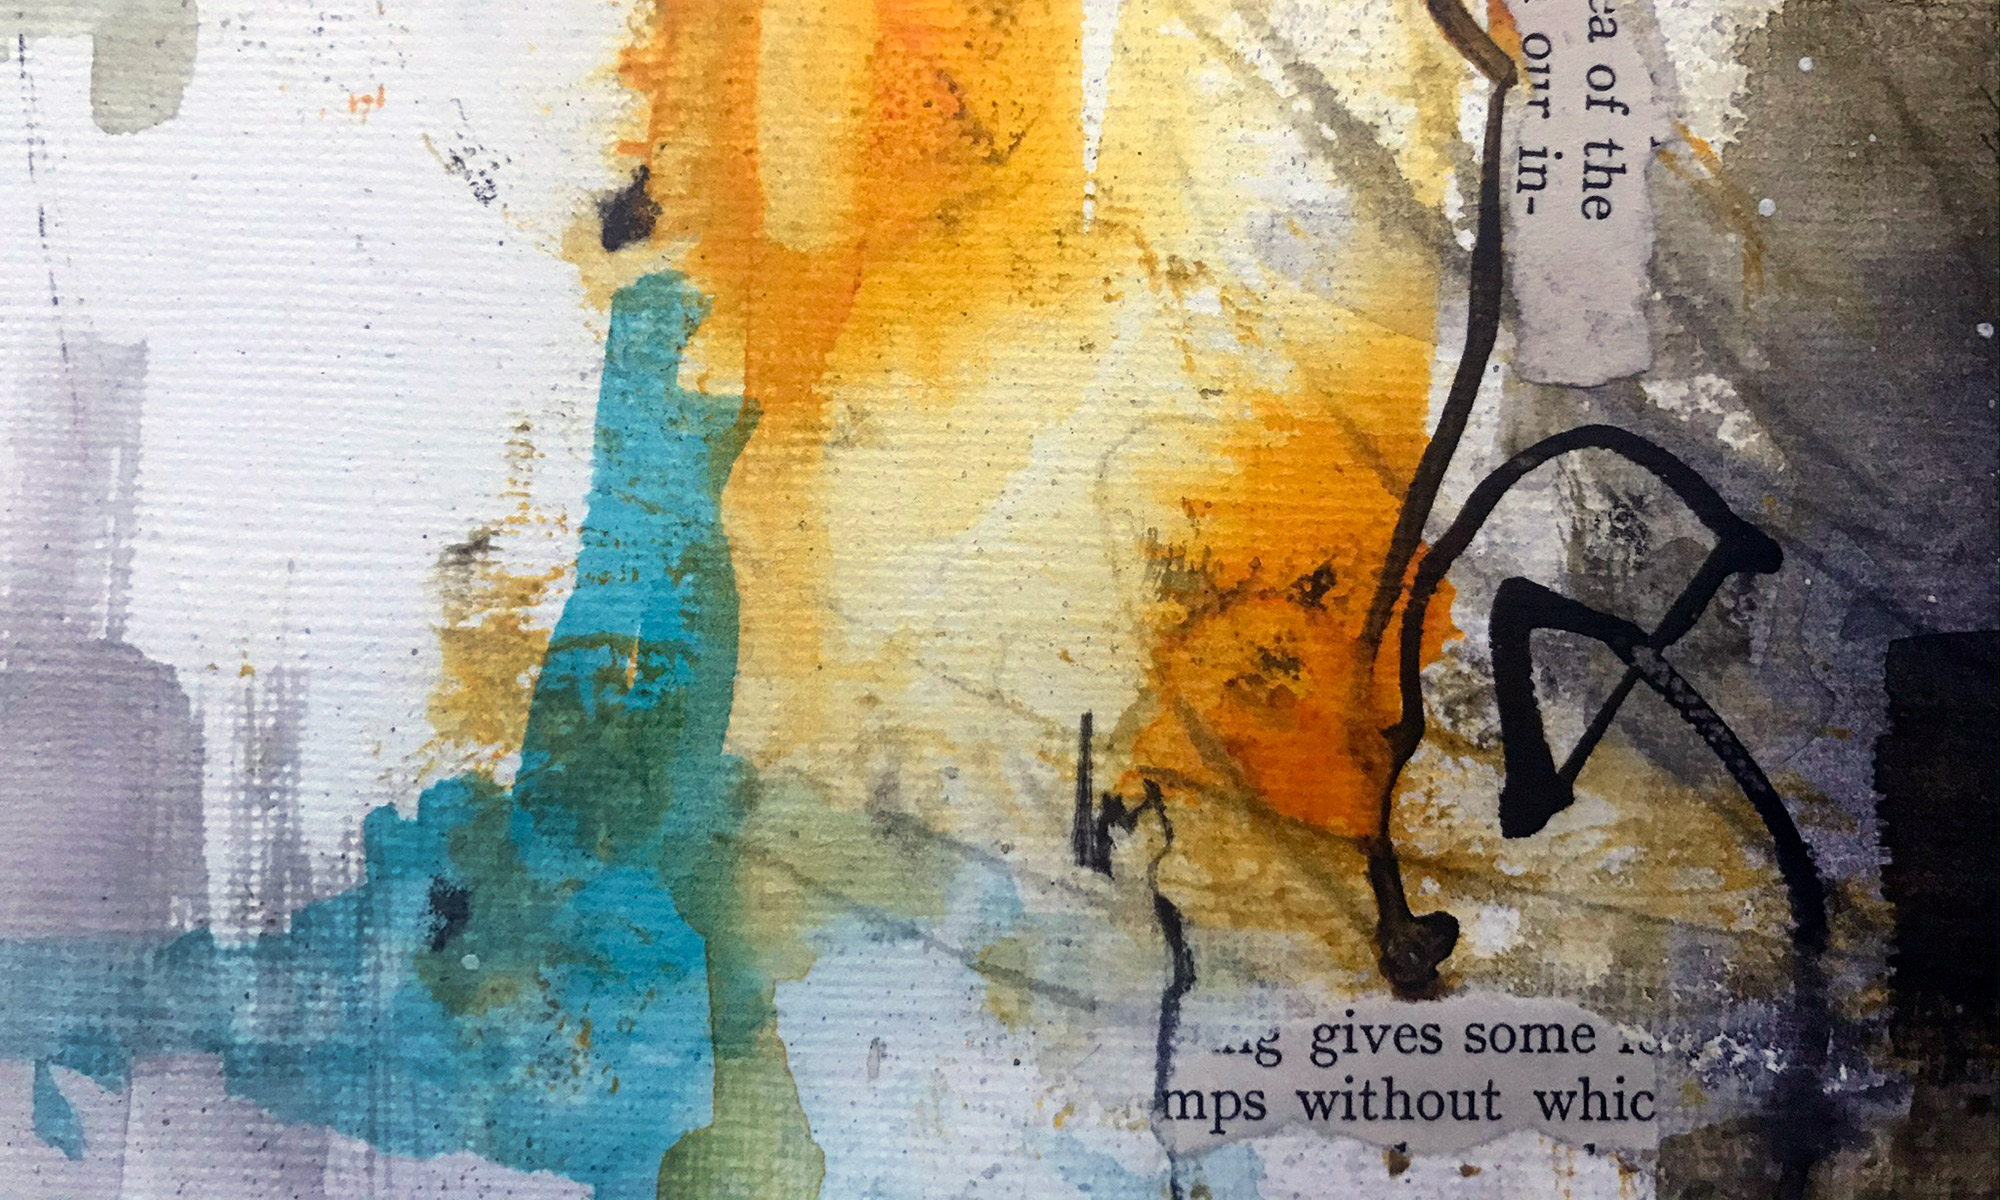
Estuarine

For this year’s art trail SEVEN has chosen an estuarine theme.

Definition:
1.formed or deposited in an estuary: estuarine muds
2. growing in, inhabiting, or found in an estuary: estuarine fauna

Throughout the year, SEVEN met every two weeks where a member of the group would run a workshop of their choice. In the following weeks each artist would incorporate these ideas into their own sketchbook. During the following weeks it was interesting to see how each artist interpreted and developed the original brief into their own style.

We each used an A5 concertina style sketchbook, and as with the estuary, the pages all flow into one another – there is no need to ‘turn the page’.

Secret Auction

As part of the art trail, each artist donates a piece of their artwork for the Secret Auction. Visitors to the art trail place bids on the work and if they are the highest bidder they win an original piece or art (or an experience). All monies go back in to supporting the art trail, which is a not-for-profit organisation.

Leigh Art Trail is on from Saturday 9 to Saturday 16 June 2018. SEVEN are exhibiting at Venue 49 at Planet Leasing.

Woodland Crochet-A-Long (CAL)

Being a newbie to the ‘Crochet-A-Long’ (CAL), I found the Woodland Blanket CAL on the Attic24 blog and thought it would be a good project to try.  The wool was a Christmas present from my mum and when it arrived it sat under the Christmas tree…waiting…then on Christmas day I could finally open it. Yippee!! What yummy colours!!

The pattern was due to be released on a weekly basis, starting in January, via the Attic24 blog. So, with a week or two to go I had some free time on my hands. Firstly I decided rewind the balls of yarn into cakes. Its just a personal preference but it gives you the opportunity to check the wool for any problems before you start; and it makes it easier to pull the yarn from the centre, so the ball doesn’t bounce around.

Secondly, I made my colour tags, so that I could easily identify my colours as I’d removed the ball bands.

Then in January the first week of the pattern was released. I made my tension piece and began my foundation chain. Both steps took a few attempts to get right.

The pattern was a variation on a ripple stitch and I was surprised how easy it was to do the pattern wrong and it wouldn’t be apparent until 2-3 rows along! I learned a new word during this project, ‘frogging’. Basically its a word for undoing your work, i.e. ‘rip it, rip it’. I lost count how many rows I had to undo.

Still, I persevered and placed markers along the row and counted, counted, counted! By the time I was half-way through the blanket I finally got into the rhythm of the pattern and began to enjoy it more.

The number of pattern rows released each week was more than I could comfortably keep up with but thanks to a ‘spare’ week at the end I managed to get myself back on track.

This is my finished blanket! Its so soft and warm – I absolutely love it!

I live in the UK and it couldn’t have been finished at a better time…literally just in time for the ‘Beast from the East’. Freezing temperatures has meant this blanket has been put to good use already.

I’ve now started knitting some more socks. I just love winter accessories!