Poppies: WAVE installation Southend-on-sea

Poppies:WAVE installation is one of two installations on tour around the UK in 2017 as part of the 14-18 NOW WW1 centenary art commissions.

Following on from the installation: Blood Swept Lands and Seas of Red at the Tower of London in 2014, artist Paul Cummins and designer Tom Piper have now created Wave and Weeping Window. 

Shoeburyness is one of only two locations where the Poppies:WAVE installation can be viewed with a backdrop of the sea. The location was chosen as Southend-on-sea saw one of the first air-raid attacks on the UK during WW1 and Shoebury Garrison played an important role in the design and testing of artillery guns. 

Wave and Weeping Window are made up of thousands of hand made ceramic red poppies. The tour in 2017 includes Derby, Belfast, Cardiff, Hull and Plymouth.

Poppies:WAVE is at Barge Pier, Gunners Park, Shoeburyness, Southend-on-sea and will be on display from 12th April to 25th June 2017. For more information go to www.1418NOW.org.uk/poppies
SEVEN artist collective

I’ve been attending Creative Journal workshops held @MetalSouthend, since 2015. In January 2017, a small group of artists, who had attended these workshops, decided to form a creative sketchbook collective, called SEVEN.

As part of the Creative Journal workshops we had been invited to exhibit at the Village Green Festival in 2015 and 2016. We had all enjoyed the experience so much that we were keen to explore other exhibitions.

Locally there is an event called the Leigh Art Trail (LAT), which in 2017 will be its 20th year. The trail takes place in shops and venues in and around Leigh on Sea in Essex. To celebrate the 20th anniversary LAT were keen to increase the number of venues and to invite more artists. SEVEN got together to submit our application and we were successful!

We are now getting the creative juices flowing in our bi-weekly creative sessions…

In the first session we began with quick 1 minute sketches that we can use to develop further work…

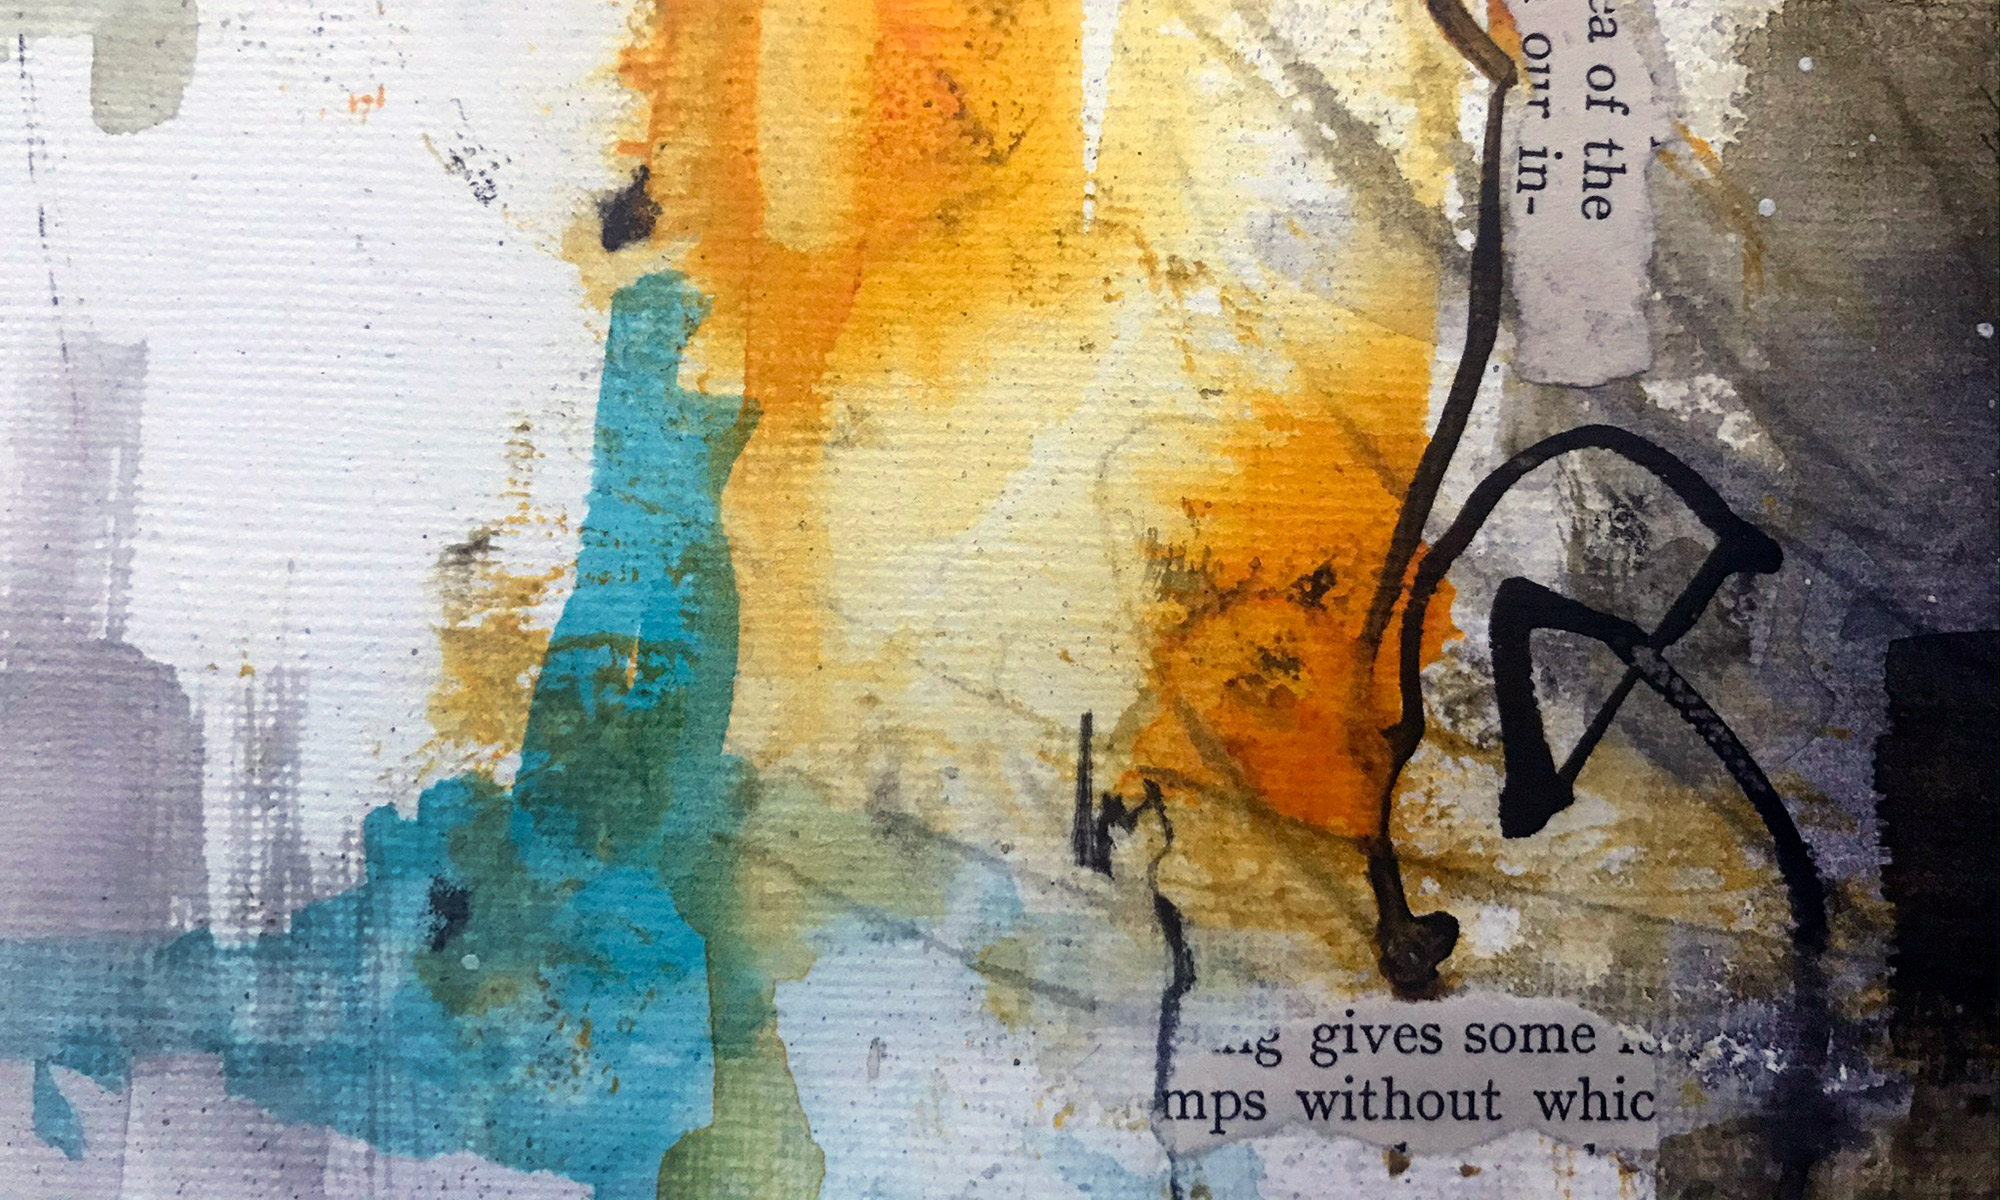
Here’s a taster of how the work is progressing…

SEVEN will be exhibiting at the Leigh Art Trail 2017 in the Planet Leasing venue.

You can follow SEVEN on Instagram.

Mandala mosaic garden table

When I went to a local junk shop to buy a mid-century sideboard, I spotted another glass-top garden table. I do love these. I don’t think they are much to look at in their original state but they are perfect for adding a touch of mosaic decoration!

As the table was circular, I wanted to create a mandala-style design.

I began by placing tiles around the edge of the table to create a border, varying the colours with each row. I then located the centre of the table, divided the circle into eight segments and began to fill out the pattern; playing with different shapes, sizes and colours to develop contrast and balance in the pattern.

I always like to use broken mirror in my work; I love the way light reflects on the broken pieces. The effect is magnified when the table is in the garden as it mirrors its surroundings and twinkles in the sunlight.

Once I’d finished cutting the mirror pieces and positioning all the mosaic tiles, I used a tile adhesive to stick each piece down.

The next step was to grout the tiles. I prefer to use a dark grey grout, rather than white, to give a dramatic contrast against the colourful tiles.

I used a powder grout that when mixed with water becomes water and frost resistant. I mixed it to a slightly fluid solution and used a palette knife, making sure the grout filled all of the gaps.

Once the grout had begun to set I used a damp cloth to wipe over the tiles to clean off the excess. The grout was left to dry overnight and then I polished the tiles using a clean cloth and scraped off any excess grout from the edges of the tiles.

This is the finished table…

Waverley Paddle Steamer Trip

For my mum’s birthday I booked a day trip on the Waverley Paddle Steamer, the last sea-going paddle steamer in the world! We left mid-afternoon from the end of Southend Pier, arriving at Tower Bridge in London just after sunset.

waverley-725x245
Photo: © Waverley Excursions Ltd

The Waverley was built on the Clyde in Scotland and was launched in 1947. After a long career she was bought for £1 in 1975 by the Paddle Steamer Preservation Society. She now makes regular pleasure trips around the UK throughout the year, which includes trips along the Thames.

It was fascinating to see the coastline and famous landmarks from a fresh perspective.

Tilbury Docks unloading a container ship…

The Queen Elizabeth II Bridge…

A view of the Docklands skyline in the distance…

The Thames Barrier…

The Millenium Dome…

Our first glimpse of the Shard and the City skyline at sunset…

Behind us was this stunning view of Canary Wharf, all lit up…

The Thames has many twists and turns on the approach to Tower Bridge, which can be very disorientating! Around the final bend we approached Tower Bridge, which opened to enable us to pass through…

…and under…

Wow! What a view!

Thank you Waverley. Until next year…

Mid-century sideboard

In our design studio we’ve been looking to replace a rather large storage unit with something smaller. The room doubles up as a work space and a guest bedroom but space is of a premium. The old piece of furniture we wanted to replace, although useful, did take up too much space and was a good excuse to hoard ‘stuff’ that didn’t really need to be there. So we wanted to find something smaller, that was cheap and we could ‘do up’.

In the local area, there are a large number of secondhand, house-clearance shops that I regularly browse around. We visited one of these shops that has a huge amount of furniture stacked floor to ceiling. And it’s here where we found our mid-century sideboard.

original-sideboard1

The top section had two shelves (which I took off to paint). The bottom sliding cupboard had shelves on the left and three drawers on the right.

original-sideboard2

I began by mixing a chalk paint solution using plaster of paris and grey emulsion. I lightly sanded down the furniture and applied the paint to the back and sides.

Once that had dried I pasted wallpaper on to the top section and front cupboard door. The back cupboard door and drawer fronts were also painted in a chalk paint solution using colours to compliment the wallpaper.

As we’ll put the printers on the bottom shelf we drilled a large hole in the back to feed the cables through.

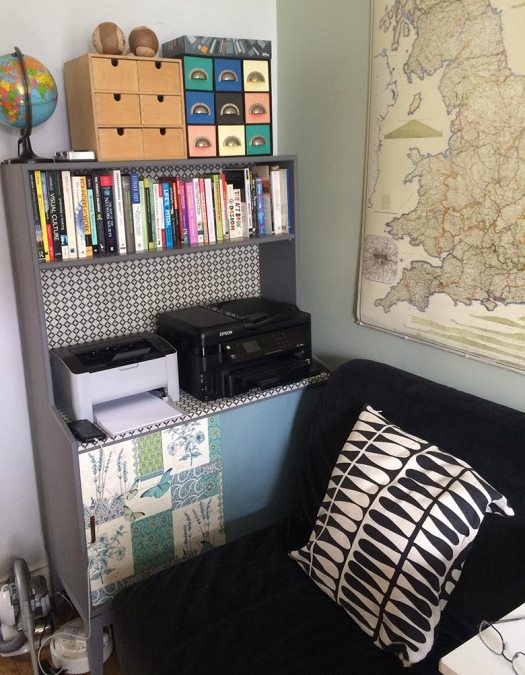
This is the finished piece…

final-cupboard1

…and the drawers…

final-cupboard2

…and in situ…

final-cupboard3

We love it!