I’ve had some timeout from craft fairs this year, but I’ve been working hard in the background designing and making new products for the upcoming winter season. Yes, winter is coming! As much as I love summer and the warmth it brings, there is something comforting when the cosy winter layers are needed.

For a while now I’ve been looking at ways in which I can make my business more eco friendly and sustainable. The main product I use is yarn and while it comes in a wide variety of materials, often the more convenient and cost-effecitve options are less kind to the environment. So, this year I’ve been searching and trialling new yarns to use in my crochet, knitting and weaving projects.
The obvious yarn to choose would be sheeps’ wool, which is natural, warm and biodegradable etc. HOWEVER, I find it super prickly. If I wear yarn with a high percentage of sheeps’ wool next to my skin it brings me out in a rash and I don’t enjoy handling it. I’ve heard the same reaction from a number of my clients, which is why I’ve often used premium acrylic yarns.

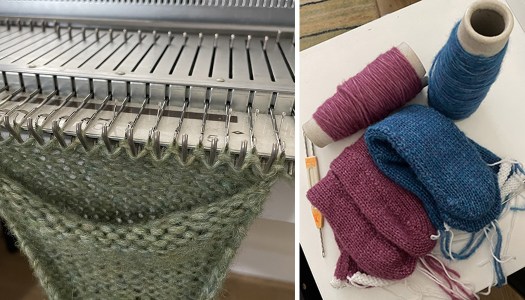
Two of my favourite types of wool come from Merino sheep and Alpacas (I love alpacas!). They both have amazing properties for keeping in warmth, are hypoallergenic, natural and biodegradable plus they are very soft. Alpaca wool is often handwash only, but it wicks away moisture and dries very quickly, while Merino wool is often machine-washable at 30 degrees.
My wristwarmers (knitted) and fingerless gloves (crocheted with a thumb hole) are now made using either 100% alpaca wool or 100% merino wool. I’ve been wearing my alpaca wristwarmers since last winter and I can personally vouch for their warmth and longevity. I had thought not having a thumb hole might be an issue but they feel more like wearing a jumper with long sleeves. And the cuff fits easily inside a sleeve.

I’ve also been making washcloths for the home, and face scrubbies using 100% cotton. While cotton does require plenty of water to grow, it is completely natural, biodegradable and a very practical choice for these products.

I’ll be at the following craft markets where I’ll be selling these along with some popular favourites. If you’re in the area, pop in and say hello 🙂
Folk & Bespoke – 11 Oct (10am – 3pm), Leigh Community Centre SS9 1SP
Folk & Bespoke – 8 Nov (10am – 3pm), Leigh Community Centre SS9 1SP
Christmas Eco Fair – 15 Nov (10am – 3pm), Leigh Road Baptist Church SS9 1NN
Hope to see you there!