I belong to a local Meetup group that supports small businesses and self-employed people. We meet on a regular basis and its a great opportunity to share ideas or to get advice from like-minded people.
Having been inspired by a couple of recent courses I’d attended I thought I would try running my own creative workshop at one of the Meetup sessions.

The task I set the group was to make their own mandala that would represent happiness to them. The word mandala can be translated to mean ‘circle’ and it has been used for centuries as a meditation tool. I chose the theme of happiness as we can sometimes forget to be happy and yet it has many benefits which can lead us to be more productive and effective in our lives.
Using magazines, I asked the group to quickly pick images that they liked, it was important that they used their gut instinct, therefore not allowing themselves to think or question their choice. Once they had a few images they glued them onto their plate, starting in the centre and working outwards, overlapping the edges. The edges were then trimmed to make the mandala. These are some of their lovely creations:
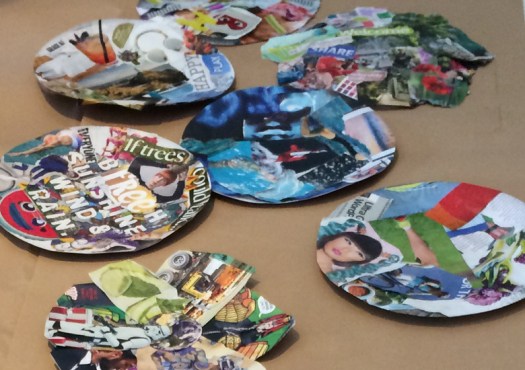
Having created their own piece of happiness I suggested they take their mandalas and put them somewhere where they would see them everyday as a gentle reminder to be happy.


 I’m not really a big fan of the granny square (preferring a more contemporary crochet look) but recently I got the bug to give it a try.


 Scotney Castle