Find Your Joy taster course

Throughout the Covid-19 lockdown I’ve been listening to the podcast Art Juice. This has been very motivational. Apart from the inspiring, creative chat between the two artists, I’ve found it reassuring to hear that other artists are experiencing similar ups and downs during this time.

Finger painting fun

In June, one of the artists from the podcast, Louise Fletcher, ran her annual free, taster workshop: ‘Find Your Joy‘. Throughout the 10 days she encouraged as many artists as possible to take part (this year over 11,000 people joined in the fun!). All of the course is delivered online plus it has a private Facebook group for anyone who wants to share their work and join Louise for regular live Facebook Q&A sessions.

I signed up! Not being a painter I wasn’t sure if the course would be right for me but I wanted to give it a go. I thought I’m sure I will get something out of this. And Oh, was I right!

At the beginning we were asked to set out our intention for the course. In hindsight I think I was a little over ambition with mine, but it still stands true for the long term…

“My intention is to find/recognise my own voice, with a view to making pieces of art that I would be proud to exhibit.”

Colour testing

Over the past five years, I have been developing my art practice passionately and although I love what I do and enjoy the process I can still feel a bit lost. I’m not clear in my own mind what I want to achieve with my art and know that there is more art inside me. I just need to find it! And this is what drew me to the workshop.

During the week we were given different painting assignments and shown inspirational videos; and we shared our work within a supportive FB group. Everything was aimed at ‘finding your joy’. Do more of what you like and less of what you don’t like, was often repeated by Louise. Which all sounds very obvious when you hear it, but sometimes you just need to hear it.

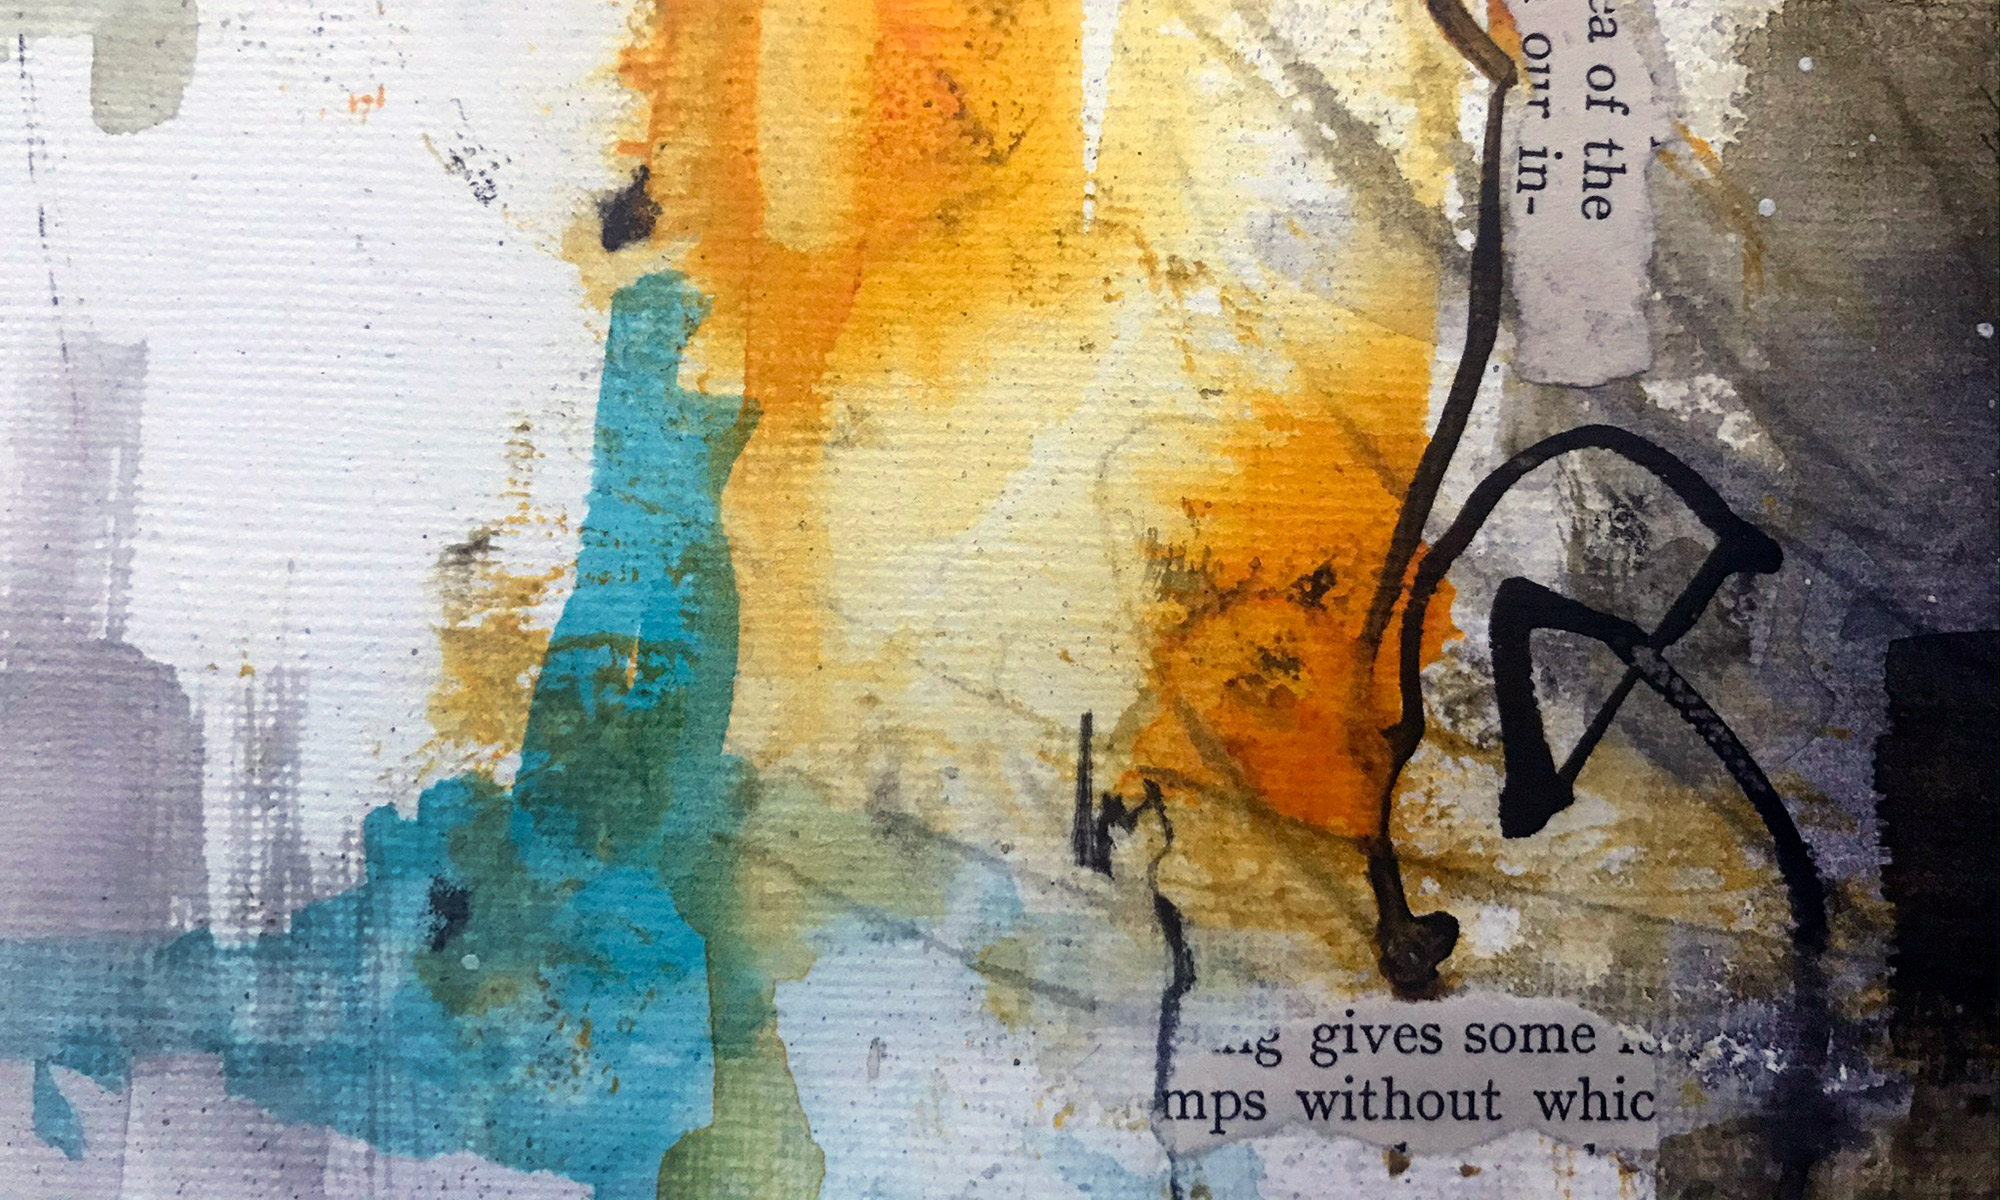
The overall aim of the workshop wasn’t to make any masterpieces but to focus on simply playing and having fun. The week had many ‘light bulb’ moments for me and there are many lessons learned that I still need to process. But these are some of the experimental paintings I made:

Timed exercise #1
Timed exercise #2
Timed exercise #3
Using a palette knife
Finger painting
Using limitations

Having learned so much from just one week I’ve now signed up for the full 10 week ‘Find Your Joy’ workshop which begins in July. Watch this space…
Wet cyanotype

Cyanotype in lockdown continues…

The weather and nature continues to be glorious. Sunny days, pure blue skies and birdsong are quickly becoming the new normal.

Sunshine inspires me to continue making cyanotype prints. I’ve been looking for some new images to use. Browsing through my old photographs I found images of flowers, leaves and shells, plus I downloaded some historic maps and printed them all out on sheets of acetate.

Images on acetate

I’ve been wanting to experiment more with wet cyanotype. I have tried it before but the results weren’t as colourful as I was expecting. I think they needed to be exposed for longer and I was being too impatient!

I found a short video by Kristy McCurdy on how to make wet cyanotype. I loved the colourful results she produces – moving away from the pure blue and white results of cyanotype – to achieve more subtle greens and varying shades of blues.

Feeling inspired, I had another go…

Using the new images I’d printed on acetate I tried splashing and spraying water, on both the cyanotype paper and on the acetate, before placing them between two panes of glass. I left them out in the afternoon sun for about an hour to expose the images.

Exposing wet cyanotype in the sun

The colours during exposure changed dramatically and were really vibrant and I did hope they would stay like this, but sadly they didn’t. Once the paper has been rinsed under the tap the stronger colours faded and the end results were more subtle.

Wet cyanotype results

I do like the effect it created in the background, with varying tones of blue, which reminded me of clouds.

These examples were created using splashed and sprayed water. Spraying water resulted in a more mottled effect on the leaves.

Wet cyanotype examples – using sprayed and splashed water techniques

I’m still hoping to create cyanotype prints that have more greens and blues in them, but again, I think even longer exposure times are probably required.

Cyanotype collage – mini series #1

I have been binge-listening to the podcast Art Juice by artists Louise Fletcher and Alice Sheridan. Having just discovered them, I’m finding them a real source of inspiration during this strange time, following the Coronavirus Lockdown (in the UK this started on 23 March 2020). On a daily basis I’m not sure if I want to create something, curl up in a ball or shout and scream – or sometimes all three. Art Juice is keeping me focussed on my creativity and helping me to stay sane!

So this month, as we have been enjoying some sunny weather, I decided to revisit the technique of camera-less photography called Cyanotype. I first tried this in the summer of last year and this is some of my early work:

Some of my early Cyanotype prints

I’ve started working on a new series of Cyanotype collages. And perhaps due to the inability to ‘go out and buy whatever I need, whenever I need it’, I’m feeling the need to work small – maybe to conserve resources? I often work in A5 sketchbooks, so my work is quite small anyway, but I wanted to try slightly smaller, so I opted for A6.

I took a few sheets of watercolour paper (I really like the texture) and cut them into 12 x A6 pieces. I brushed each piece with my Jacquard Cyanotype solution and pegged them up to dry in my dark room (otherwise known as my windowless utility room with a red safe-light).

Paper, coated with Cyanotype solution, hanging in the dark to dry

NB: Cyanotype is traditionally made outside, using sunlight – not something that is seen regularly here in the Northern Hemisphere! And I’ve found that having real, fresh foliage, ready-to-use when the sun does appear is not something I can guarantee. So I’ve begun taking photos of plants and leaves that I can print out onto sheets of acetate. They are always to hand and never wilt!

Once the papers had dried I lay a few of them onto a wooden board; positioned acetate images on top; and sandwiched them in place with a piece of clear glass. I carried the board outside and left it in a sunny position for about 10 minutes.

Acetate image being exposed in the sunlight

The exposure time varies depending on the strength of the sun. The colour of the Cyanotype begins to darken in the sunlight, so you can usually see when it is ready. I took the pages indoors and rinsed them under a cold tap to wash off the excess solution to reveal the exposed images. I then hung them up to dry and repeated this process until I had exposed all 12 pieces.

Some of the exposed Cyanotype images

I wanted to develop the Cyanotypes with some collage work. I have boxes of torn paper and scrap fabric so I took some of these and collaged on to each piece. I wasn’t sure if I wanted to enhance or contrast the collage with the Cyanotype, but I went for an intuitive approach and let it happen organically.

Beginning to collage on the Cyanotype

I sealed the collage with a coat of matt Mod Podge; worked over the top with wax crayons and pencils and finished off with a few simple stitches using embroidery thread.

The mini collage series #1

I haven’t decided what to do with them yet – frame them or bind them into a sketchbook? I didn’t really have an end-goal in mind but have really enjoyed experimenting with the process. While the sunny weather continues, so will the Cyanotype!

Embroidered altered book

Later this year I will be exhibiting my work at the Leigh Art Trail (assuming Covid-19 lockdown is lifted), with SEVEN, a sketchbook collective that I belong to. This will be our fourth year at the Leigh Art Trail and we’re excited to have a new venue!

We will be exhibiting at the Refill Room – a new shop in Leigh-on-Sea that promotes zero waste and are passionate about eradicating single-use plastic.

In response to the shop’s vision, we decided we would make altered books i.e. we would re-purpose an old, possibly forgotten and unloved, second-hand book, rather than buy something new. The overall theme we are working to is ‘reclamation’ and we are each interpreting this in our own way taking inspiration from the following definition:

etymonline.com (Online etymology dictionary)

So, back in January I chose a second-hand book, which is about Crewel Embroidery. This is not a subject that I’m familiar with, but I have a background in textile design and I’m quite interested in incorporating more stitching into my work. This seemed like an ideal opportunity to experiment and I wanted to be inspired by the book’s content without having any pre-conceived plans for how it would turn out.

I learned the basics of embroidery as a child growing up and have recently begun to ‘reclaim’ or reconnect with embroidery. I joined the Embroiderer’s Guild a couple of years ago and I have been continually inspired by external/internal speakers, who have shared their stories, and I too have shared my ideas, running several workshops for the group. Wanting to use and interpret this knowledge in my own way, I have been using stitch on paper as a mark-making technique.

These are some close-ups of the pages in my book. All will be revealed soon…

Embroidered shisha mirror
Embroidery on paper
Paper and stitch collage

Vintage postcard embroidery workshop

Pink blossom – Jo Bund

The journey of a holiday postcard

In the pre-digital age, it was quite common to send a postcard home to friends and family, during your holiday. You’d pick out a selection of cards, write a brief message on the back and post them off. When they arrived at their destination, they would be read, put away in a drawer, and then probably forgotten about. At some point in the future, when the drawer is cleared out, the cards will either be given away or thrown in the bin.

Often, when you go to boot fairs or second hand book shops, you’ll find boxes of old photos and postcards that have been discarded.

So, what happens next?

It seems a shame to throw old postcards and photos away, as they are a piece of social history. But what can you do with them?

I’ve recently pondered this thought and came across a couple of artists who give old postcards a new lease of life by embroidering on to them:

FRANCESCA CRAMER – is an Italian textile artist and designer, based in North Wales. She describes her postcards as having “a conversation with the past, like lifting a layer of dust and letting the colour through, adding another chapter.”

Her technique varies from piece to piece where she either:

  • adds something new;
  • colours over a feature of the photograph; or
  • erases something completely.
Francesca Cramer embroidered postcard examples

HAN CAO – is a self-taught artist, living in Palm Springs. She uses embroidery to create new narratives for long-forgotten photographs and postcards found at flea markets and antique shops from around the world.

Her aim with these examples is to bring life to lost images, telling new narratives from the past through thread and colour:

Han Cao embroidered postcard examples

My workshop idea

I’d been asked to run a workshop at my local Embroiderer’s Guild and thought this would be an interesting idea to share with them. Being based in Southend-on-sea, thousands of postcards have been sent from here over the years. So I sourced some old postcards of Southend-on-sea, and the surrounding area, from the early 1900s to the 1970s.

I asked the group to choose a postcard each. The postcards themselves created an interesting discussion as the images brought back fond memories for people who had grown up in the area.

I wanted them to think about how they could change the image they had chosen and bring it to life…create their own story…

I suggested they keep their stitches simple – e.g. french knots, cross stitch, kantha stitch – for maximum effect. Stitching into card is very different to fabric – once the hole is pierced it’s permanent, and if you pierce holes too close together they can create one big hole!

TIP: I would always pierce holes in the card first before beginning to stitch and place a cork mat underneath the card for protection.

Embroiderer’s Guild workshop

The results were quite varied especially as some found the idea of stitching into an old postcard a little troubling! But everyone did have a go.

Before and After postcard by Jo Bund